

Anbernic RG Cube and Emulating retro games on Android

The Anbernic RG Cube - Android handheld running Emulation Station
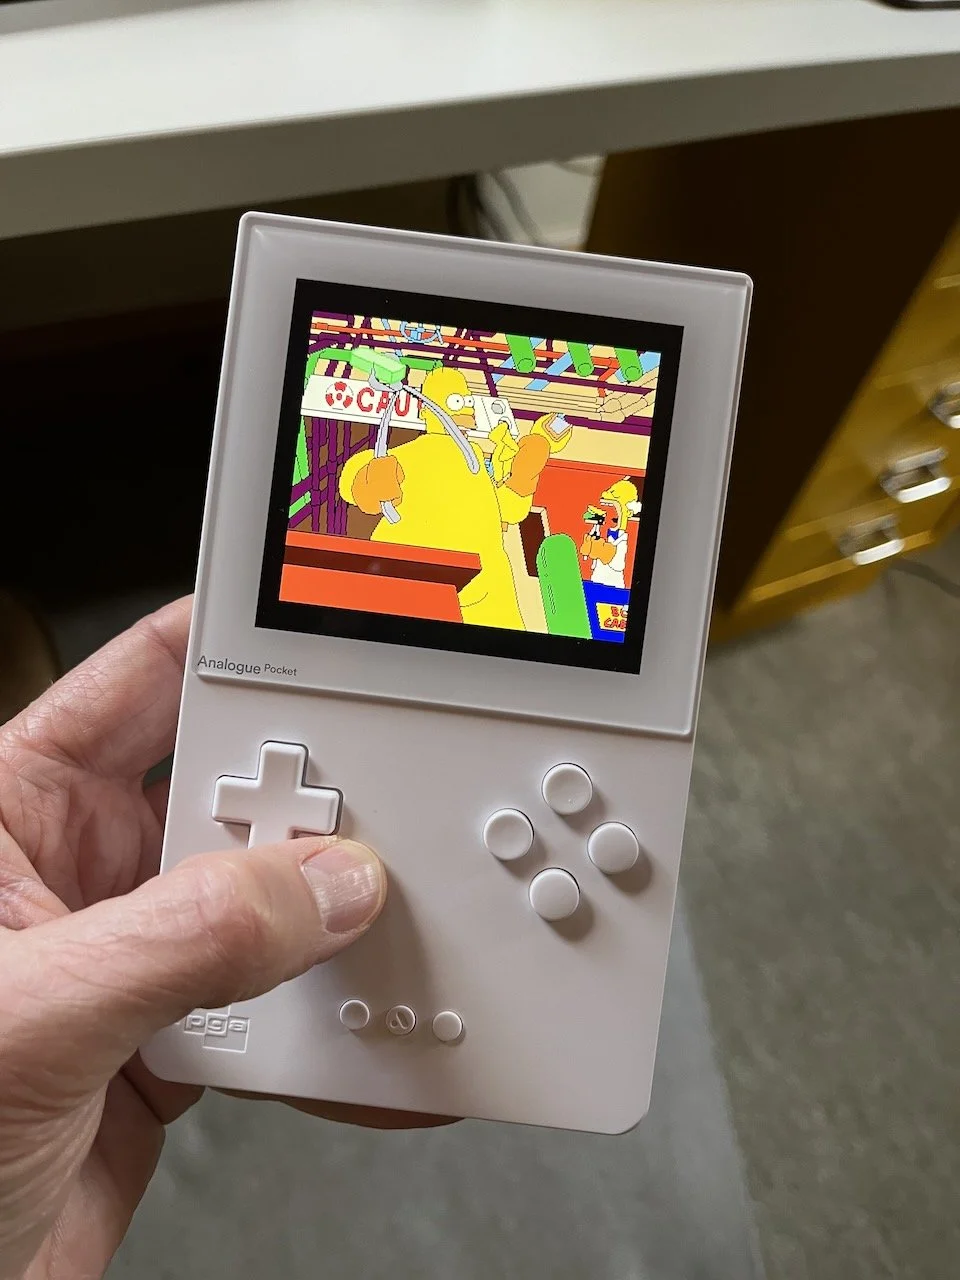
Ask anyone that knows Gaming Iain and they’ll tell you how much I love handhelds. I was about 10 when the Game Boy came out. A friend at school came back from holiday in America with talk of this console that could change games. I didn’t believe it. I had seen Game & Watch, surely that was the only kind of game that could be portable. Then he brought it into school and my eyes nearly fell out of my head. I think that’s why I love handhelds so much, the Switch is my favourite console of all time and I have watched many a retro handheld video over the years on YouTube but have generally dabbled in the actual handheld devices themselves (Game Boys, 3DS, DS, PSP, Vita, Playdate) rather than go down the route of owning a single device that emulates lots of different ones. I have an Analogue Pocket which is really nifty for emulation but the systems supported are limited and the form factor isn’t as comfortable as a horizontal device. I’ve also modded Game Boys of various generations, mostly for other people, but it’s still at the end of the day, a Game Boy.


I recently bought a Legion Go and have been loving the versatility of the system. Yes, it’s a gaming laptop without a keyboard but the controllers can come off, one of them can pretend to be a mouse, it’s really cool and that system was very handy when I was traveling earlier this year to Sweden and then the US a few weeks later. I played Minecraft properly for the first time and even completed the campaign in Star Wars Squadrons which I picked up for a steal on Steam.
I was happy, no desire for any new gadgets, all bases covered. But then, along came Into the Aether with their games of the decade episode, closely followed by a GameCube retrospective and I was on the emulation wagon again.
That’s when I saw reviews of the Anbernic RG Cube and fell in love with the 1:1 aspect screen, small size, USB-C charging and the ability to run a host of different systems, even Dreamcast and GameCube!! One thing that was totally new to me was that it runs Android.
After 2 days with the device my brother messaged to ask,
“What have you enjoyed most so far?”
And I replied,
“setting it up!”
I’ve tinkered with Linux for over a decade so EmuDeck on Steamdeck and my Lenovo Legion Go was easy. Download a script, run it, away you go, everything configured for you with a nice front end. Android is a little different. Despite the wealth of beginners guides to Android Emulation out there they still all seemed to assume some knowledge so as I was starting from scratch and getting asked by friends about these devices I thought I’d write down the bits I didn’t know so I can also remember it in future 😂 This is not a review and I may not understand everything fully. This is as much for me as anything else. If you make it to the end I’ll be amazed.
Begin at the Beginning
If you’re getting an Android device like I did you’ll end up using a few different apps if you want to emulate games on all the systems and if you want to be fancy, some sort of front end. rather than jumping into the right app for the right game.
If you have a windows machine and are willing to pay, you can use EmuDeck to set up your device for you and apparently can even make it load straight into the launcher when you turn the device on. This is super cool sounding but don’t work for me so I gave up 😂 here’s what I did.
I wanted to use a nice simple front end and for me the best one is Emulation Station. It’s very good looking, it’s the thing you see in all the videos and it looks super fancy but it doesn’t look that way magically. There are a bunch of manual steps you need to do.
So firstly I got Emulation Station and then Retro Arch. The thing I hadn’t understood, which in hindsight is obvious, is that the front end, ES, doesn’t talk to the thing that runs the game, Retro Arch, but rather relies on it being there. All it does is look at your SD card and a folder full of ROMs and then use a command line instruction to launch the right thing.
Ultimately, if you’re old enough and remember managing a manual iTunes library full of files this is basically that but more involved and on a tiny device that doesn’t have a keyboard. Hide the pain and let’s get into it.

The device came with a load of emulators installed but they didn’t seem to work properly so I uninstalled them all so set up from scratch.
You’re going to want an SD card to load all your ROMs onto. Format it to exFAT.
Set up a Retro Achievements account, it’s really cool to get achievements for old games. Gives you a reason to properly play games on the device.
I joined the Emulation Station Patreon to download their application for Android. These are called APKs. Save the download to the SD card and tap to install using the files app.
I had to get the latest nightly build of Retro Arch also as an APK - save it and install it on the device.
Then opened Retro Arch and started to set it up. I find the menus hard to navigate so these are the settings I changed. You’ll have to poke around to find them like I did.
In Settings configure it to use retro achievements
Configure to take a screenshot per achievement because it’s neat.
Set button combinations so you can easily quit Retro Arch when you’re done playing the game. That will mean you can jump back to the frontend super easily. I set pressing the thumb sticks.
You can also set start and select to bring up the Retro Arch Menu when you’re playing which is handy.
Change the option to close on quit to “CL” - Emulation station runs the games using the command line and if you don’t turn on this option it will just reopen the game you last played.
Download emulators or cores. These are the emulators that pretend to be the different consoles. There are LOADS to choose from for each platform but for this to work you have to download the one that Emulation Station is expecting to find. If you don’t then it launches Retro Arch and hangs there for a bit and then you have to quit the app manually.
Here are the ones to use for each system;
SNES 9x
Beetle - Boot ROM
Genesis GX
MAME - nothing after it
a5200 - Atari 5200
ProSystem - Atari 7800
Virtual Jaguar
Flycast for Dreamcast
Gambatte for Game Boy
mGBA for GBA
Mupen64Plus-Next
Mensen - NES
melonDS - DS
AetherSX2 for PS2 and Dolphin for GameCube - you’ll need to download these separately
Screenshots are stored in a folder RetroArch/Screenshots - you can upload them from device to Google Drive and stuff which is super cool!
Every time you add games you need to re-launch Emulation Station so it can find the files and then go into the settings and scrape so get box art, otherwise your ROMs will only be a text list which is boring :)
Often there would be duplicate files. Couldn’t always get rid of them so would end up running both and then using select and edit this game to hide any that I didn’t need. Don’t choose to delete it! It will delete the ROM from your SD!
Each game core also has core options, like the one to blur the display on the 5200 core to mimic a CRT. These are worth exploring.
If you can use Vulkan as the renderer, do, it was faster every time I used it.
For Gamecube to work consistently tell it to use the standalone app.
The Amiga Emulator will seem like it’s not working until you remember it’s mimicking the load times of floppy discs. It makes the noises too :D
Remapping the R button is easy, I remapped it to run Emulation Station
I feel like that’s it. Once all this is set up and understood you’re probably good. There’s more you can do, set it up to launch automatically when you turn on, things like that but this will get you up and running. Phew! If you made it this far, you’re insane and I love you.
Thanks for reading! :)